A compost heap doesn’t need a big garden, a perfect wooden bay or a lifestyle change. You can make useful compost in a small UK garden with one compact bin, a little routine, and a better mix of materials than “chuck it all in and hope”.
This guide is for people with small back gardens, terraces, patios, narrow side returns or raised-bed plots. It’s not aimed at allotment holders with three huge compost bays and a petrol shredder. The aim is simple: turn everyday garden and kitchen waste into something useful, without smells, rats or a heap that takes over the garden.
The key is choosing the right composting method for your space. A small garden can compost well, but it has less margin for error.
Why Compost in a Small Garden?
Composting cuts down waste, saves money on soil improver, and gives your garden a slow, steady feed. It’s especially useful in UK gardens with tired borders, heavy clay, sandy soil or containers that need topping up each year.
You won’t make enough compost to replace every bag of peat-free compost you buy. That’s the honest bit. A small bin produces modest amounts, and it can take several months to a year before you get finished compost.
Still, even a small amount is valuable. Use it as a mulch around shrubs, mix it into beds, or spread it over tired soil in autumn. Homemade compost improves soil structure, which matters just as much as nutrients.
Here’s the surprise: compost doesn’t have to get hot to work. Hot composting is faster, but cold composting is perfectly fine for most small gardens. It just takes longer.
Choose the Right Compost Bin for Your Space
The best compost heap for a small garden is usually not an open heap. Open heaps work, but they need more space, look messier, and are harder to manage in a tight garden.
A contained bin is usually better. It keeps material tidy, holds warmth, reduces wind scatter and makes the whole thing feel less like a pile of rubbish in the corner.
| Composting option | Best for | Pros | Watch out for |
|---|---|---|---|
| Dalek-style plastic compost bin | Most small gardens | Cheap, compact, widely available | Can be awkward to empty |
| Wooden compost box | Larger small gardens | Looks better, good airflow | Needs more space |
| Tumbler composter | Patios and tidy spaces | Easy to turn, off the ground | Can dry out, limited capacity |
| Wormery | Kitchens, patios, no lawn | Good for fruit and veg scraps | Needs care in heat and cold |
| Bokashi bin | Small homes with food waste | Handles more kitchen scraps indoors | Needs a second stage to break down fully |
For most small UK gardens, I usually recommend starting with a basic plastic compost bin. It’s not glamorous, but it works, and you can often get one discounted through your local council.
Where to Put a Compost Heap in a Small Garden
Put the bin somewhere easy to reach. If it’s hidden behind wet shrubs at the far end of the garden, you’ll stop using it by February.
A spot on soil is best because worms and soil organisms can move up into the bin. If you only have paving, you can still compost, but a tumbler, wormery or sealed-bottom system may suit you better. A plastic bin can sit on paving, though liquid may drain out, so choose the spot carefully.
Partial shade is ideal. Full sun can dry the heap out in summer, while deep shade can keep it cold and wet. In a small garden, just choose the most practical spot and adjust the moisture as needed.
Keep it away from doors and open windows if you’re nervous about smells. A well-managed compost bin shouldn’t stink, but it’s still sensible not to put it right beside the kitchen table.
What to Put in a Compost Heap
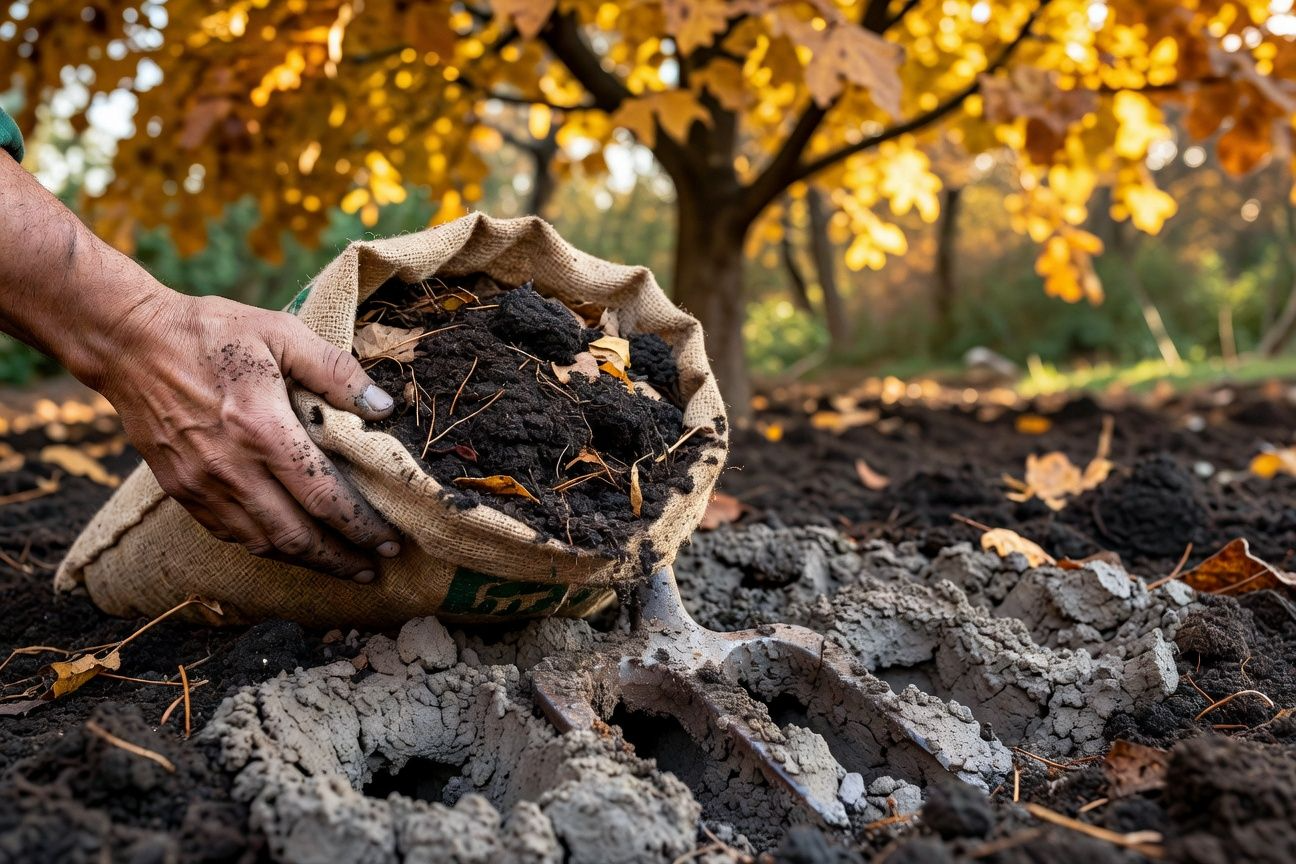
Good compost needs a balance of “greens” and “browns”. Greens are soft, moist and nitrogen-rich. Browns are dry, fibrous and carbon-rich.
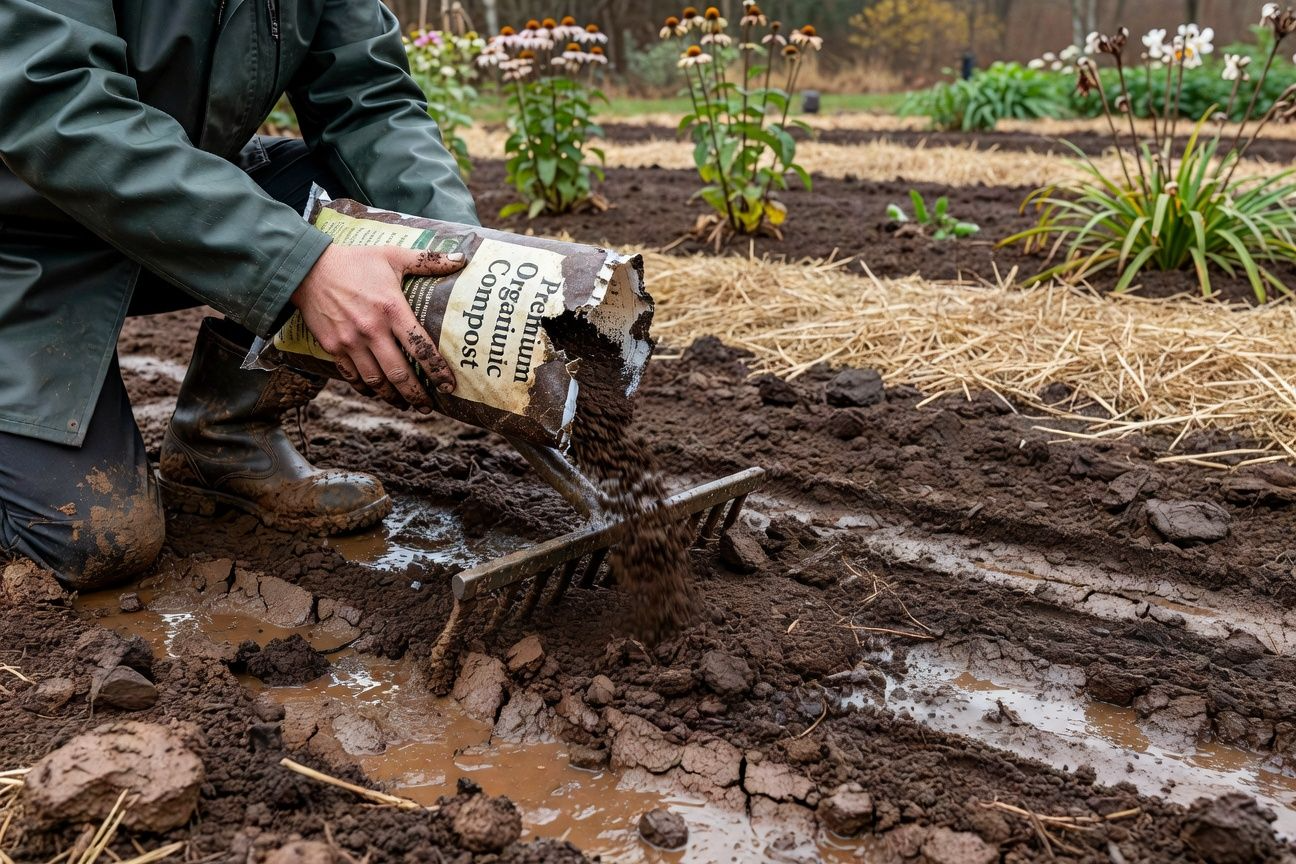
Greens include fruit and vegetable peelings, coffee grounds, tea leaves, grass clippings, soft leafy plant material and annual weeds that haven’t gone to seed. Browns include cardboard, egg boxes, toilet roll tubes, dry leaves, straw, woodier prunings, shredded paper and small twigs.
The easiest mistake is adding too many greens. A bin full of grass clippings and veg peelings turns wet, sour and smelly. Add torn cardboard or dry leaves every time you add kitchen scraps, and the bin behaves much better.
You don’t need exact ratios. In real life, aim for roughly half greens and half browns by volume. If it smells, add browns. If it’s dry and doing nothing, add greens and a little water.
What Not to Compost at Home
In a normal small-garden compost bin, avoid cooked food, meat, fish, bones, dairy, oil and greasy leftovers. These can smell and attract pests. Use your council food waste collection if you have one.
Don’t add dog or cat poo, disposable nappies, glossy printed card, coal ash, diseased plant material, or invasive weeds such as Japanese knotweed. Be careful with perennial weeds too. Bindweed roots, ground elder and couch grass can survive in a cool heap and spread when you use the compost.
Eggshells are fine, but crush them first. Citrus peel is also fine in small amounts. The problem is usually not one orange peel; it’s a whole bin full of the same thing.
If in doubt, leave it out. Compost heaps are forgiving, but small bins punish bad additions faster than large heaps.
How to Start the Compost Heap
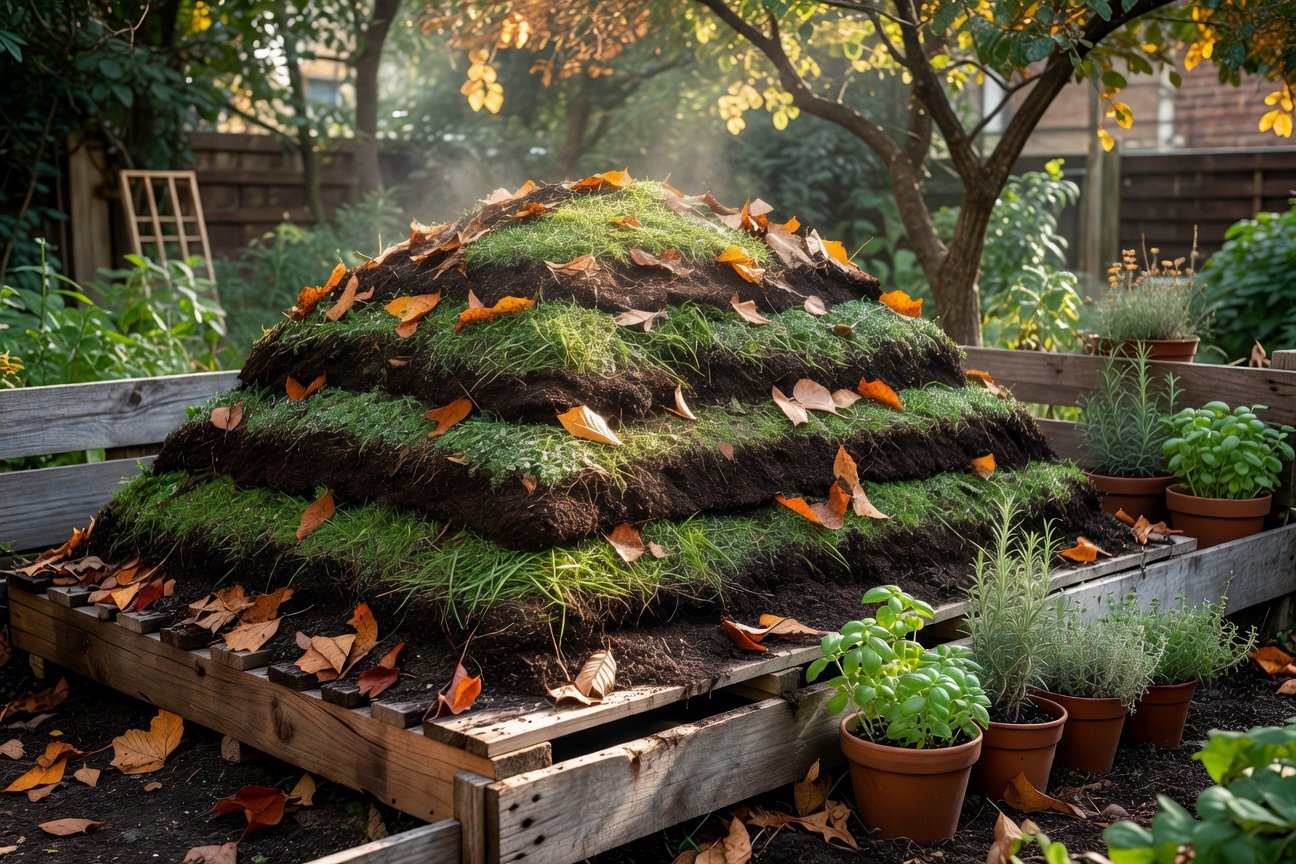
Start with a loose base layer of twigs, woody stems or coarse material. This helps air move through the bottom of the bin and stops everything collapsing into a wet mat.
Then add mixed layers of greens and browns. A caddy of veg peelings can be followed by a handful or two of torn cardboard. A bucket of grass clippings should be mixed with dry leaves, shredded paper or chopped woody material.
Cut bulky material into smaller pieces where you can. This is the non-obvious trick that makes a small compost bin work better. A whole cabbage stalk or long woody stem may sit there for ages, but chopped material breaks down much faster.
Water the heap only if it’s dry. It should feel like a wrung-out sponge: damp, not dripping. If you squeeze a handful and water runs out, it’s too wet.
How to Keep It Working
A compost heap needs air, moisture and variety. If those three are right, it will work.
Turn the compost occasionally with a garden fork or compost aerator. You don’t have to do this every week, but mixing it now and then stops wet pockets forming and brings air into the heap. If your bin is too awkward to turn fully, poke holes down through the contents with a fork handle or aerator.
Keep adding browns. Small gardens often produce plenty of kitchen scraps but not enough dry material, so store a bag of torn cardboard, autumn leaves or shredded paper nearby. This one habit prevents most smell problems.
In my experience, the best small composters are not the keenest gardeners. They’re the people who keep a simple rhythm: scraps in, cardboard in, lid on, check moisture now and then.
Common Compost Problems and How to Fix Them
If your compost smells bad, it’s probably too wet or short of air. Add dry browns such as cardboard, shredded paper or dry leaves, then mix the heap. Leave the lid slightly ajar for a day if it’s very wet, but don’t let rain pour in.
If nothing is happening, the heap may be too dry, too cold or too brown-heavy. Add some greens, water lightly, and mix. Small bins slow down in winter, so don’t judge them too harshly in January.
If you get lots of flies, bury fruit scraps under browns rather than leaving them exposed on top. A layer of cardboard or dry leaves over fresh kitchen waste helps a lot.
If rats are a worry, avoid cooked food completely, keep the lid secure, and place the bin on wire mesh if needed. A tidy compost bin with no cooked scraps is far less attractive than a heap with pasta, bread and leftovers in it.
When Is Compost Ready?
Finished compost is dark, crumbly and smells earthy. You shouldn’t be able to recognise most of the original material, apart from the odd twig, eggshell or avocado stone.
In a small cold compost bin, this may take nine to eighteen months. A well-managed bin in a warm spot can be quicker. A neglected one can take longer. That’s normal.
You can remove the finished compost from the bottom of many plastic bins using the hatch, though the hatches are often annoyingly small. Another method is to lift the whole bin off, move unfinished material to one side, and collect the compost from the bottom.
Sieve it if you want finer compost for pots or seed beds. For mulching borders, don’t bother being too precious. Chunkier compost is fine around shrubs and perennials.
How to Use Homemade Compost
Use homemade compost as a soil improver, not as a straight potting compost for seeds. It can be too variable, too rich, or not free-draining enough for delicate seedlings.
Spread it around plants as a mulch in spring or autumn. Mix it into vegetable beds before planting. Add it to the bottom of planting holes for hungry plants, but don’t create a rich little pocket in poor soil and ignore the rest of the bed.
For containers, mix a modest amount with fresh peat-free compost rather than using it alone. Homemade compost is useful, but it isn’t a controlled product.
The best use in a small garden is often simple: feed the soil every year. A thin layer over beds adds up over time.
A Simple Small-Garden Composting Routine
Start small. One bin used well beats three half-filled bins that annoy you every time you walk past.
Next 10 minutes: choose the best spot for your compost bin. Look for somewhere accessible, preferably on soil, and not right beside a seating area or open window.
Today: gather your first browns. Tear up plain cardboard, egg boxes and toilet roll tubes, or collect a bag of dry leaves. This is what most new compost heaps are missing.
This week: set up the bin, add a twiggy base, then start mixing kitchen peelings with browns every time you add them. Keep the lid on, check moisture, and don’t add cooked food.
A compost heap in a small garden doesn’t need to be perfect. It needs a sensible bin, the right mix of waste, enough air, and a bit of patience. Do that, and your garden scraps stop being rubbish and start becoming better soil.